How to create SMTP with Mailinabox and send unlimited emails
 https://storyset.com/marketing
There are many ways to create SMTP and send unlimited emails and Mailinabox is just one of them. Basically, as long as it’s your SMTP server you can send unlimited emails, no restriction at all from your side unless you want to put one. But wait!! There’s a catch. The catch is that ISP doesn’t accept unlimited emails from New SMTP. Anyway, I will discuss more in ISP another article. Here’s I am going to demonstrate, how you can install Mailinabox and create SMTP.
Requirement
- A domain name from Namecheap
- A VPS or cloud
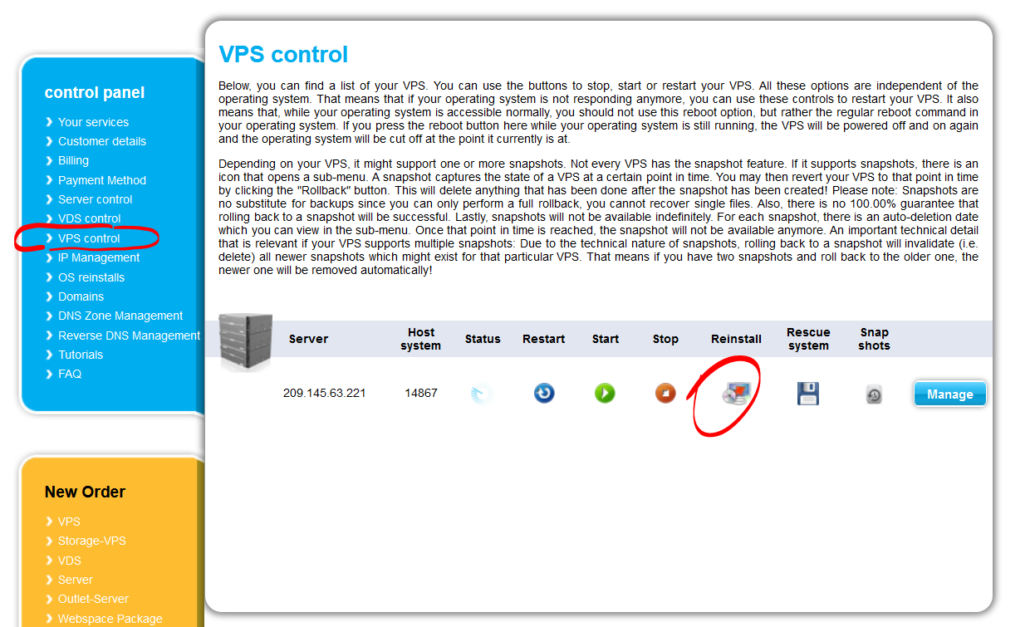
I am using Contabo in this demo. But of course, you are free to select any VPS hosting. Select Ubuntu 18.04 during placing an order. Just in case you ordered VPS with some other OS, follow the screenshot to reinstall Ubuntu 18.04.
Update Nameservers
Before you begin, you need to create custom name servers with domain registrar. Go to custom nameserver and create it.
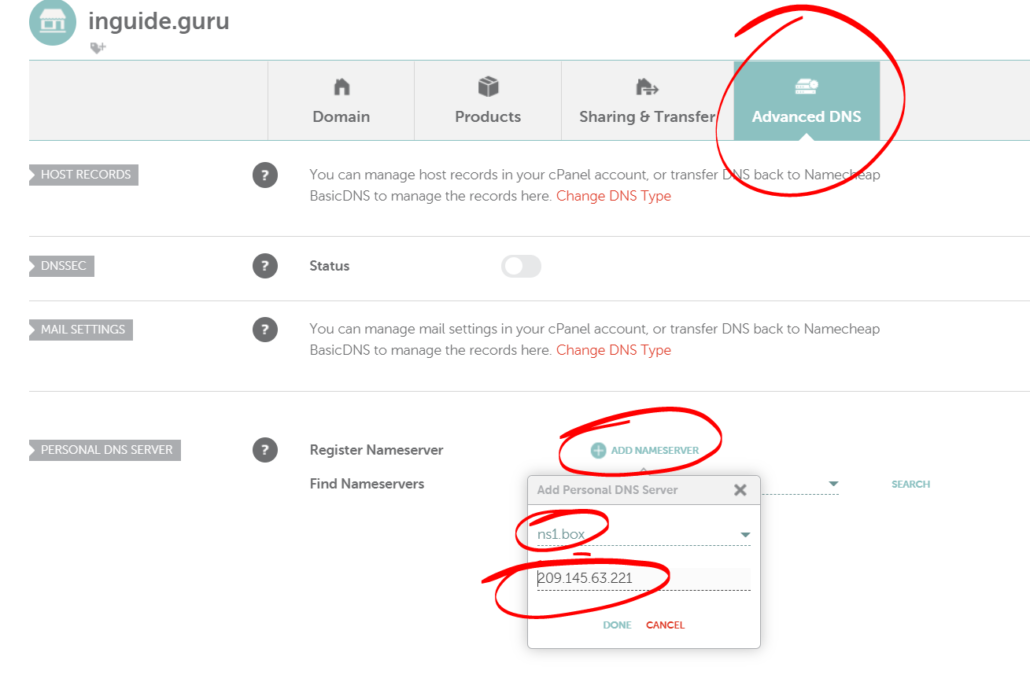
Then update the nameservers to
ns1.box.inguide.in
ns2.box.inguide.in
With this our work at domain registrar finishes off.
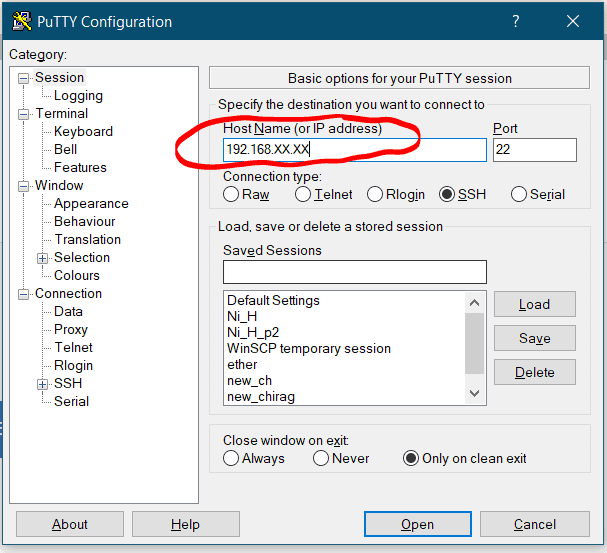
Connect to the server
If you are on windows machine, you will need an special SSH client to connect to Linux server. On Linux or Mac just open up your terminal. I already have discussed several ways to connect to remote Linux server. However, for quick start Windows user can download Putty to get started. It’s open source and light weight.
First of all switch to root user
sudo -i
Now the first step would be test whether port 25 is open or not
apt install telnet -y
telnet smtp.gmail.com 25
You would see Connected status. €if you didn’t this means port 25 is blocked and you must ask hosting provider to open it.
Next, set the hostname with the following command,
hostnamectl set-hostname box.inguide.in
Replace inguide.in with your domain name. But don’t replace box with anything else. After that, update the server with following command
apt update && apt upgrade -y
Now run the following command
curl -s https://mailinabox.email/setup.sh | sudo bash
Answer questions which will appear on your screen. If asked for email id type
At the end of installation you will asked for user name and password. Enter it.
Finalizing the installation
Now go to URL https://box.inguide.in/admin and login. If any thing is not in green address that issue. After that provision SSL certificate.
You can add users and find SMTP details in relevant tabs.
Testing the SMTP server
Go to Mail tester to and get email id from there and then send a test email to it. You will get 10/10 score without any issue. You can do further testing with these tools.
Summary
Installing Mailinabox is absolutely simple and no brain storming in that. Just one command and you are good to go. Nameserver configuration could be little tricky for beginners, but I have made that simple as well.

Leave a Reply
Want to join the discussion?Feel free to contribute!