Zimbra Outlook Settings or Configuration Explained
We all know Zimbra is a great open-source mailing solution. I already have articles on the installation of Zimbra.
Although Zimbra Webmail is very good, we have a habit of sending emails from Outlook. Instead of opening a web page to compose an email every time, it’s definitely easier to compose and send an email from Outlook itself. This article explains the settings/configuration that you need to do inside Outlook to connect to your Zimbra.
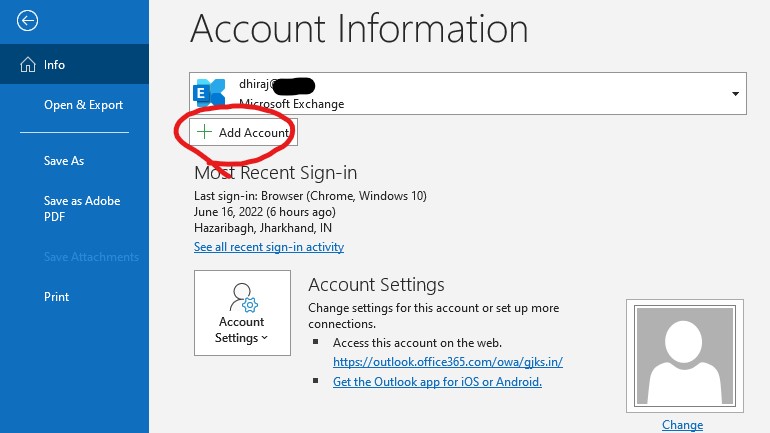
1. Add an account in Outlook
Go to add a new Outlook account:
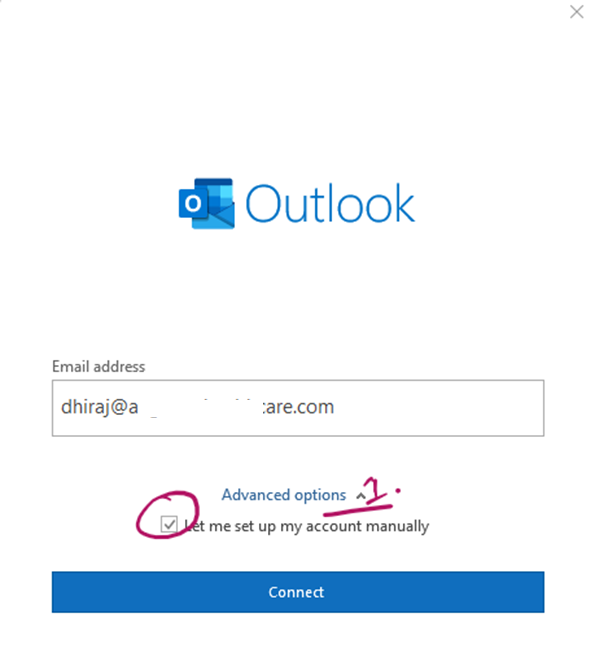
2. Enter Zimbra email address
Next enter your Zimbra login and go to Advanced Options
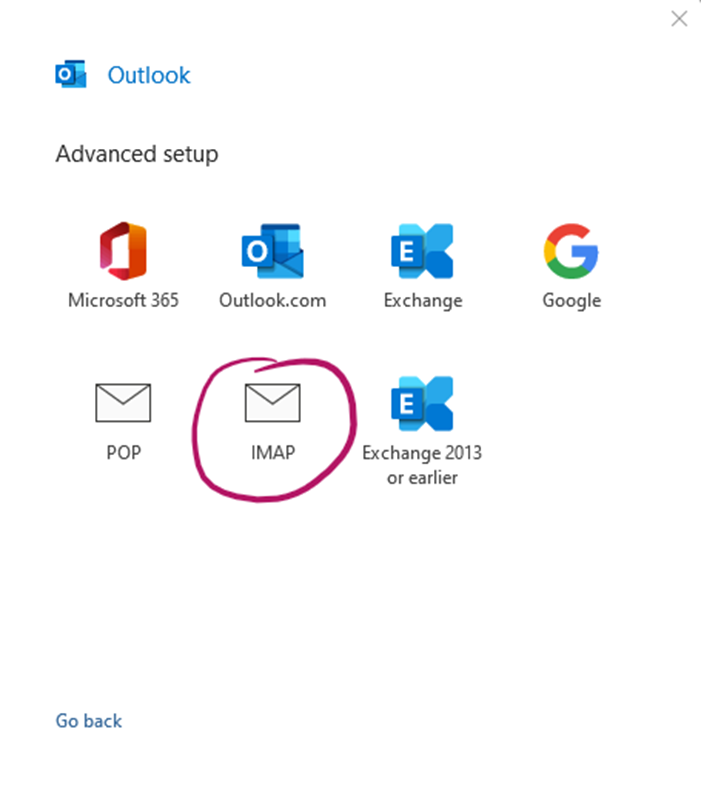
3. Select IMAP option
On the next window select IMAP
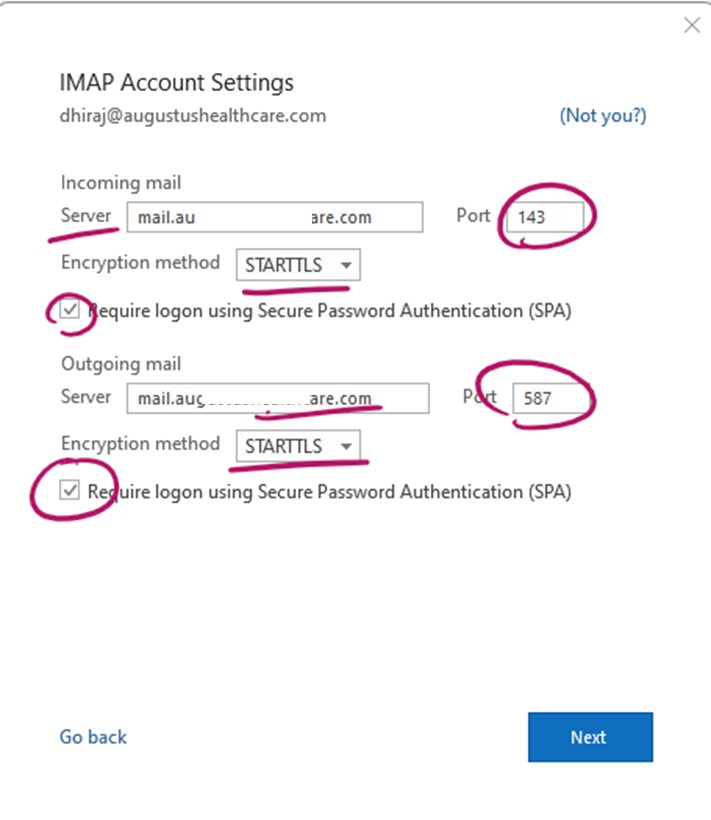
4. Enter Zimbra Port Settings into Outlook
On this window insert Zimbra Hostname and IMAP Port 143 and Zimbra SMTP Port 587.
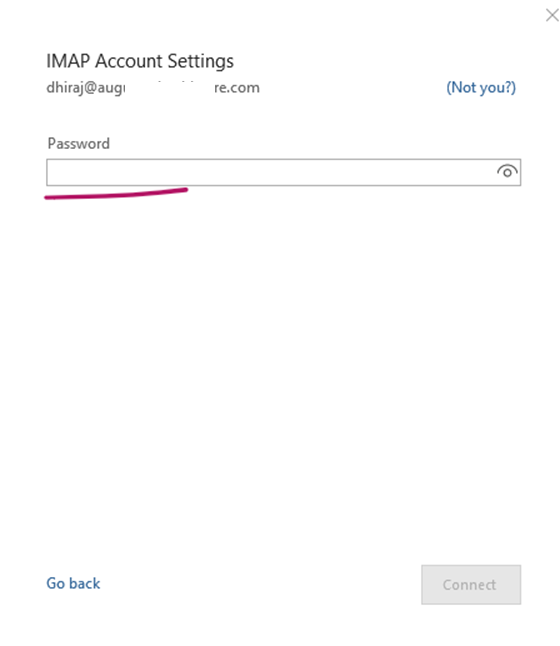
5. Enter the password
After that, you will be asked to enter the password of your Zimbra account.
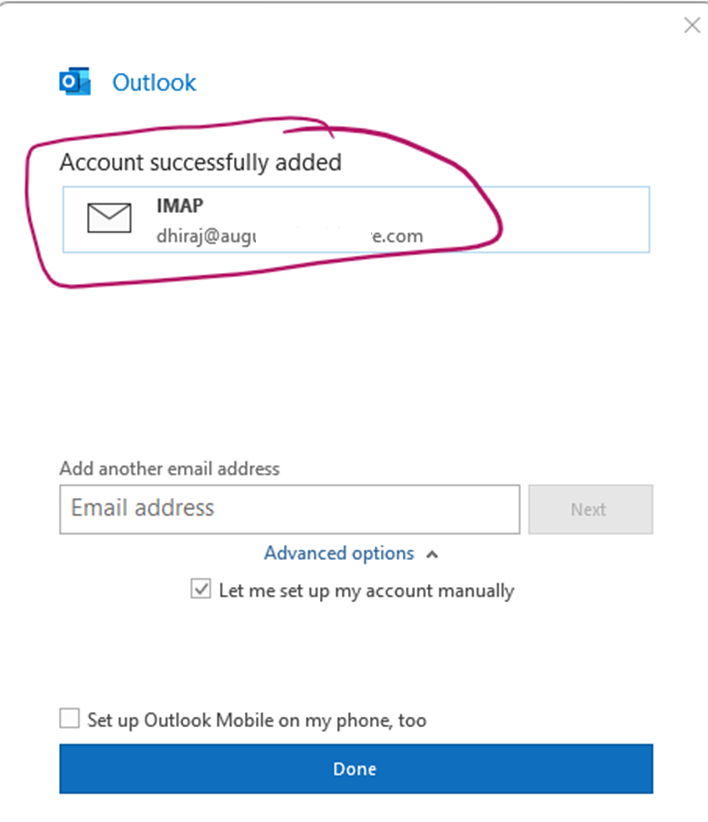
6. Zimbra Outlook Connection Complete
On the Next window, you will get a successful message. Hurray, your Outlook is now ready to work with Zimbra.
Conclusion
It’s fairly easy to connect Zimbra to Outlook.

Leave a Reply
Want to join the discussion?Feel free to contribute!